Managing Campaign Settings
This article explains how to effectively manage your outreach campaign through the Campaign Settings tab. You'll learn how to adjust general campaign information, fine-tune email send schedules, control notification preferences, and apply limits to campaign email volume. Whether you're updating the campaign owner, setting alerts, or ensuring compliance with holiday sending rules, this guide helps you optimize campaign execution from start to finish.
Note
The Campaign Settings tab allows you to control the behavior, notifications, and sending limits of your outreach. With this tool, you can edit general details like the campaign name and schedule, campaign rules, customize notifications, and adjust key sending rules to ensure a smooth campaign experience from start to finish.
Once a campaign is created, users can revisit the Settings tab at any time to make adjustments. Whether you’re assigning ownership, controlling your send volume, or setting up alerts for key events, this tab helps you manage every aspect of your campaign’s execution.
Accessing Campaign Settings
You can access Campaign Settings by clicking into any existing campaign from your Campaigns Dashboard. Once inside, navigate to the Settings tab in the campaign navigation bar.
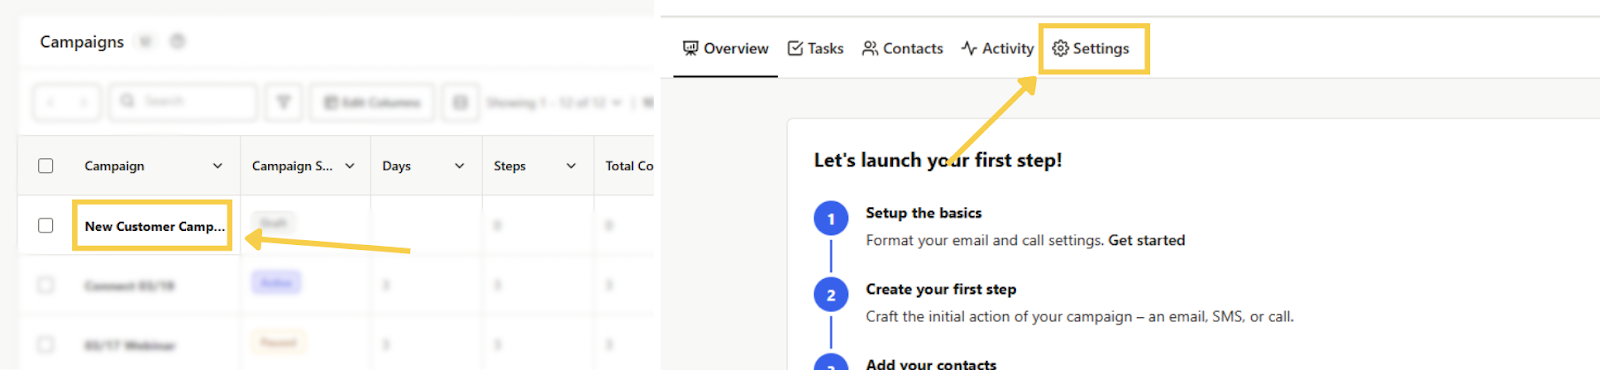
Inside this tab, you’ll find multiple sections for managing the campaign's configuration, notifications, and outreach preferences.
General Settings
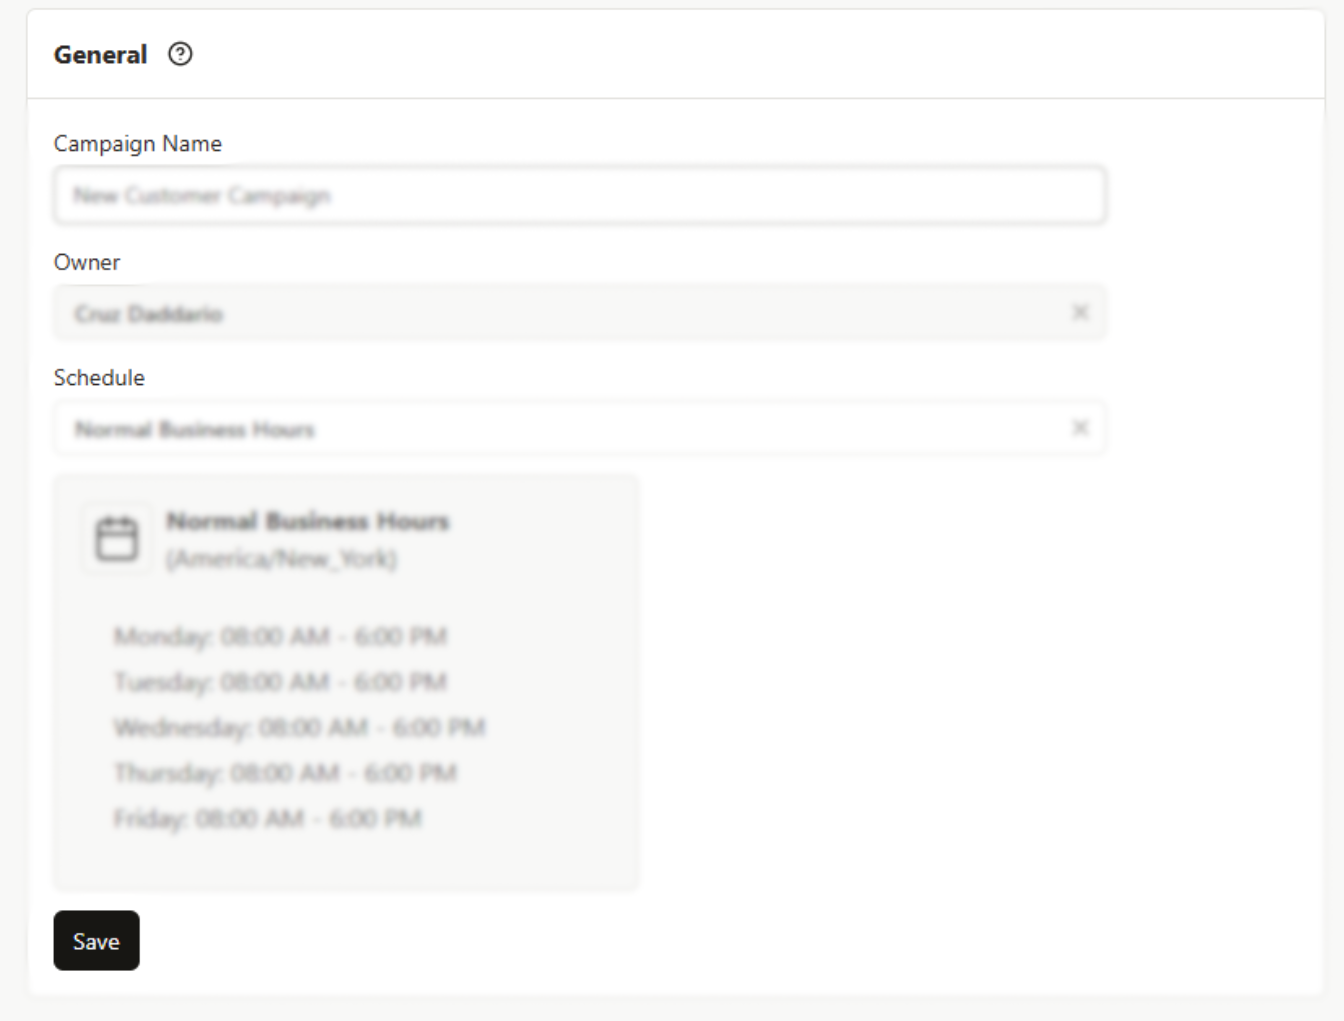
The General Settings section gives you control over the foundational setup of your campaign. Here’s what you can manage:
- Campaign Name – Update or rename your campaign at any time by editing this field.
- Owner – Assign or change the campaign owner using the dropdown selector.
- Schedule – The selected schedule will also dictate when Automatic emails will be sent and when steps are scheduled. Be aware to respect the business hours of your contacts to increase your deliverability of emails.
- Once a schedule is selected, a visual box will appear showing the schedule layout.
- If you don’t have a schedule built, click the “Create New Schedule” option to create one.
Notifications
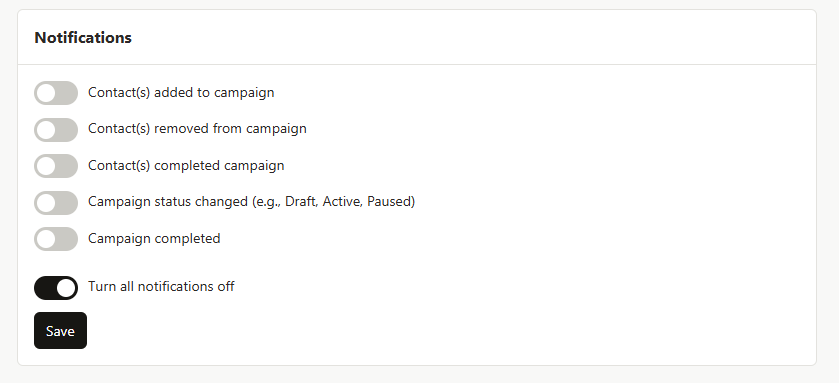
The Notifications section lets you choose which campaign events you’d like to be alerted about. Users can toggle any of the following options:
- Contact(s) added to campaign – Receive a notification when new contacts are enrolled.
- Contact(s) removed from campaign – Get alerts when contacts are removed manually or automatically.
- Contact(s) completed campaign – Know when a contact reaches the end of the campaign.
- Campaign status changed – Stay informed when a campaign steps changes between Draft, Active, or Paused states.
- Campaign completed – Get notified when all contacts in the campaign have completed their steps.
- Turn all notifications off – Use this toggle to disable all campaign-related alerts. This setting is enabled to turn off notifications by default.
Campaign Rules
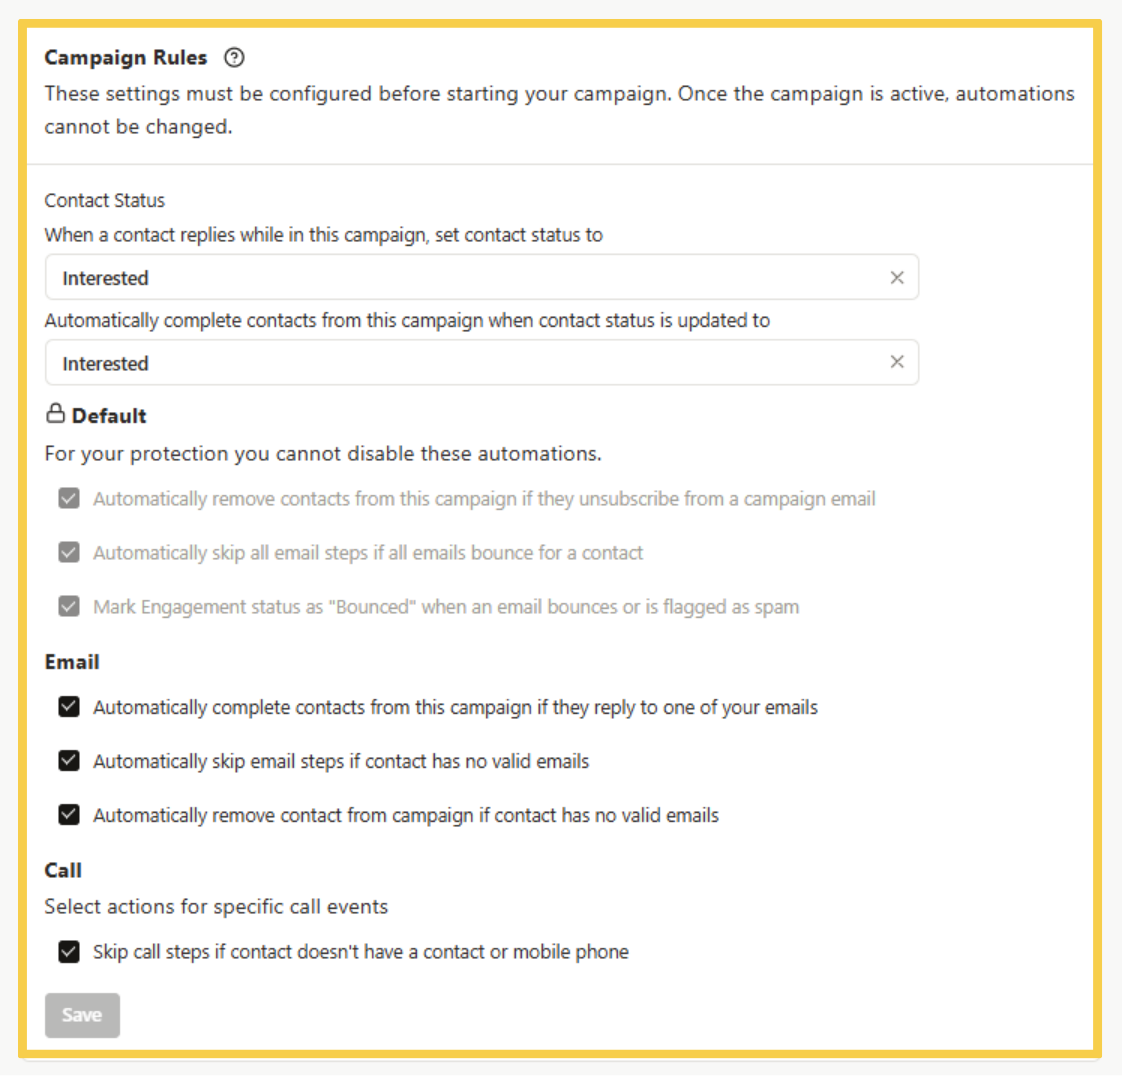
Campaign Automations are found under the Campaign Rules section in a campaign’s settings. They help to streamline outreach by automatically managing contact statuses, engagement outcomes, and campaign flow.
Campaign Rules can only be edited before launch, once a campaign starts, the automation page is locked to protect data consistency. If you try to launch before adjusting settings, you’ll see a reminder to edit Campaign Rules or proceed with defaults.
Pro-Tip
Pro Tip: Always review Campaign Rules before launching. Even small oversights (like not skipping calls for missing numbers) can create extra work once the campaign is live.
Contact Status
Users can customize the update the contact status for when a contact replies within your campaign, and when they should be marked as completed from a campaign.
Contact Replies - If a contact replies while in a campaign, their Contact Status is automatically updated. Default: “Interested” (can be customized from the dropdown).
Campaign Completion - If a contact’s status is changed to a desired, they are automatically marked as “Completed” for the campaign. Default: “Interested,” but other statuses can be selected.
Pro-Tip
Pro Tip: Align your automation status updates with your sales process. For example, set replies to “Engaged” if you want reps to qualify leads manually instead of defaulting directly to “Interested.”
Default Automations
These safeguards are mandatory and always enabled and cannot be edited or turned off:
Unsubscribe Protection - Automatically removes contacts from the campaign if they unsubscribe from a campaign email.
Bounce Protection - Automatically skip all email steps if all email addresses for a contact bounce.
Bounce Statusing: Marks engagement status as Bounced if an email bounces or is flagged as spam.
Spam Protection
To protect your domain’s reputation by having contacts automatically removed from the campaign if any of the emails for a contact bounce. Check the box to enable this option.
Before a contact enters a campaign, Seamless verifies automations to prevent invalid entries. For example, if a contact has no valid email address, they will not be allowed into the campaign.
However users can further customize settings and actions specific to email events in a campaign. Users can check the setting to enable.
- Automatically complete contacts from the campaign if they reply to an email.
- Automatically skip email steps if no valid email addresses exist.
💡 Pro Tip: Use Seamless's email validation to keep deliverability high. Running campaigns with clean, validated emails reduces bounces and protects your sender domain.
Call
Customize settings and actions specific to call events in a campaign. Users can check the setting to enable.
- Automatically skip call steps if a contact does not have a contact or mobile phone number.
By leveraging campaign automations, users can reduce manual oversight, ensure compliance, and maintain accurate campaign reporting.
Additional Campaign Settings
In Campaign settings, users can also manage a few additional options that affect how emails are sent and how contacts are handled throughout the campaign.
Campaign Email Settings
Users can select which email addresses will be used in the campaign. They can add or remove email accounts as needed, giving them flexibility to manage sending across one or multiple inboxes.
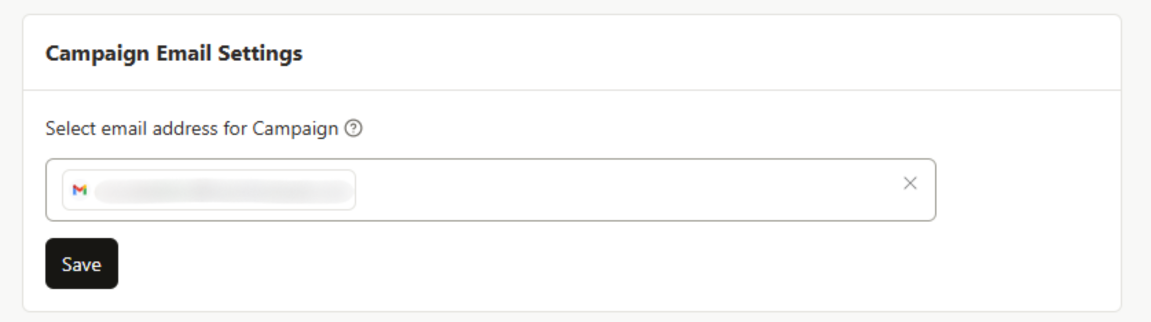
Seamless helps you track and manage your daily email sending limits across campaigns and inboxes. Review limits regularly and distribute sends across multiple inboxes to prevent hitting daily caps and maintain deliverability.
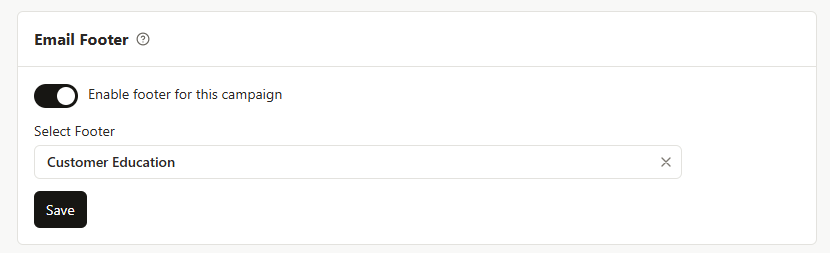
Email Footer
Users can choose whether to include an email footer in the campaign by toggling this setting on or off. If enabled, the default footer will automatically be applied, but users can also open the dropdown to select from any other previously created footers.
Important: A footer is required to use automated campaign features. If this setting is turned off, users may encounter errors when attempting to use automation within campaigns.
Final Tip
Make sure to review your campaign’s settings before launching. These configurations directly impact when your messages go out, how many contacts are reached daily, and how you’re notified of key events. You can revisit and update your settings at any time during the campaign lifecycle.